How you can quickly and easily change the filter insert in your CJC® Oil Care System
Instruction: Changing CJC® Fine Filter Insert — Type 38/-


WARNING
HOT SURFACES
Piping and filter housings may contain hot fluid. Contact can cause burns.

Switch off CJC® Oil-Care System.
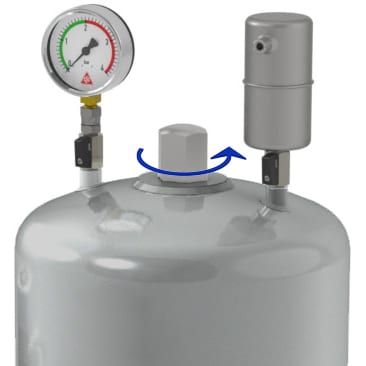
Aerate CJC® Oil Care System.

Version with automatich bleeding and venting valve:
Ensure that shutt-off valve is open.
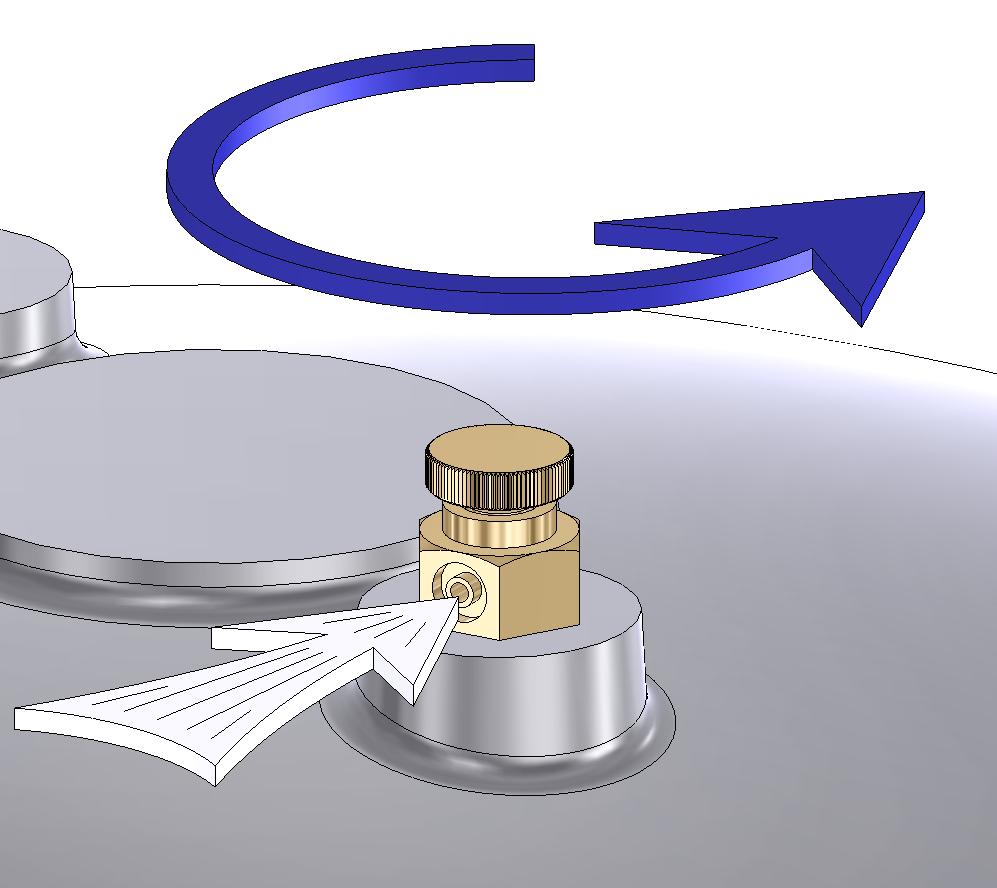
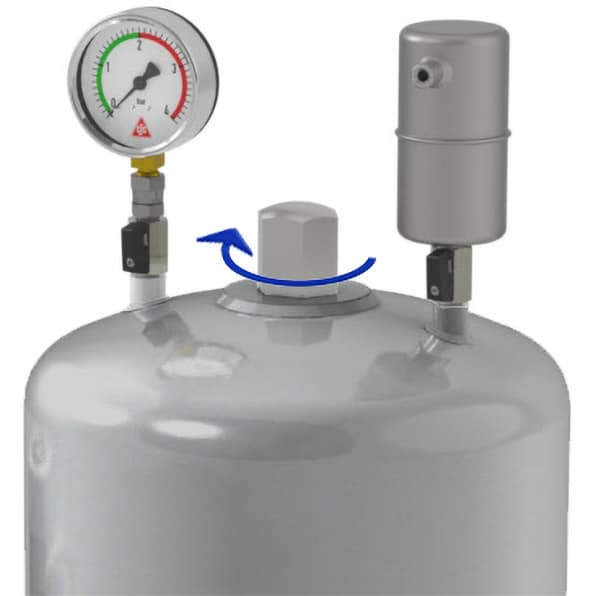
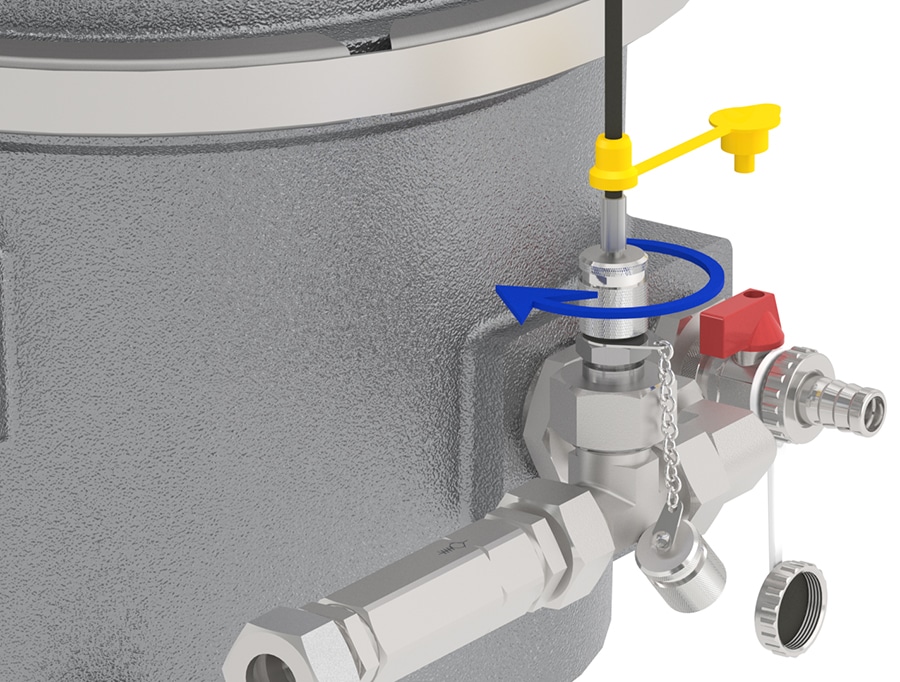
Version with venting screw:
Open venting screw.
Version with permanent venting:
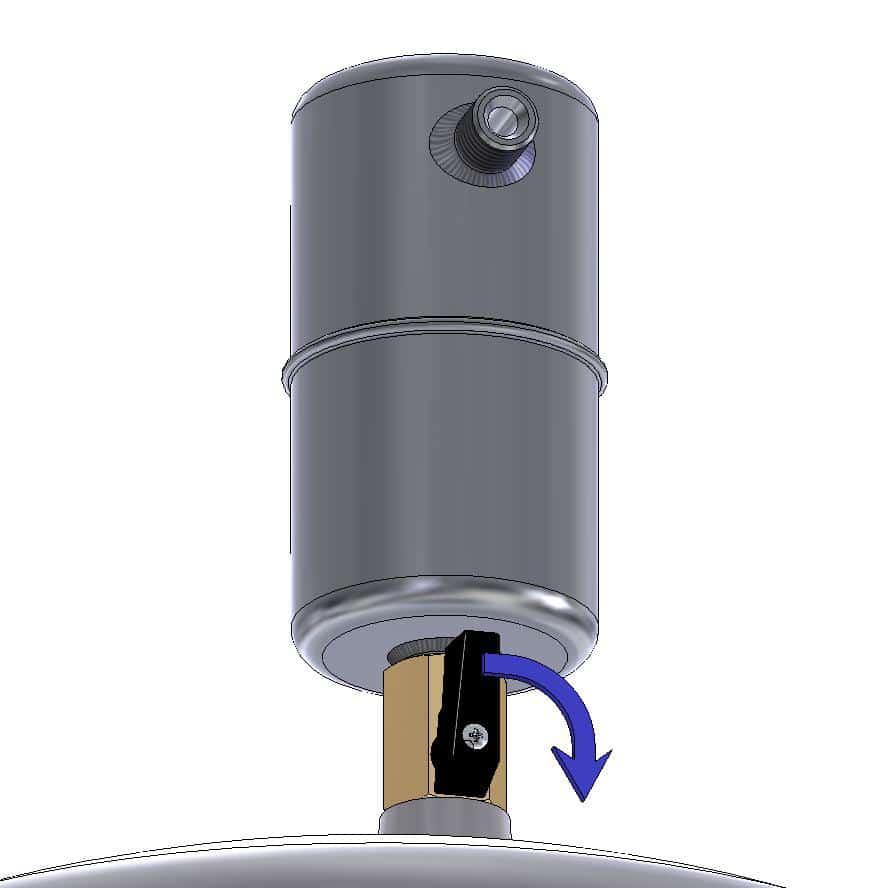
Loosen permanent venting at filter base.
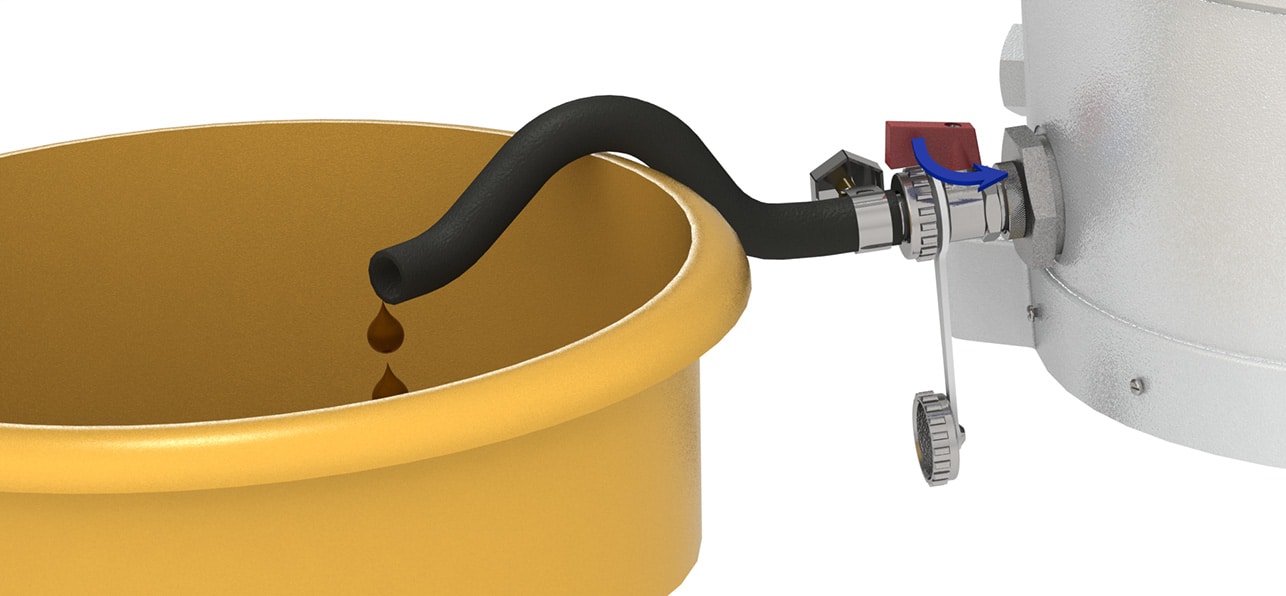
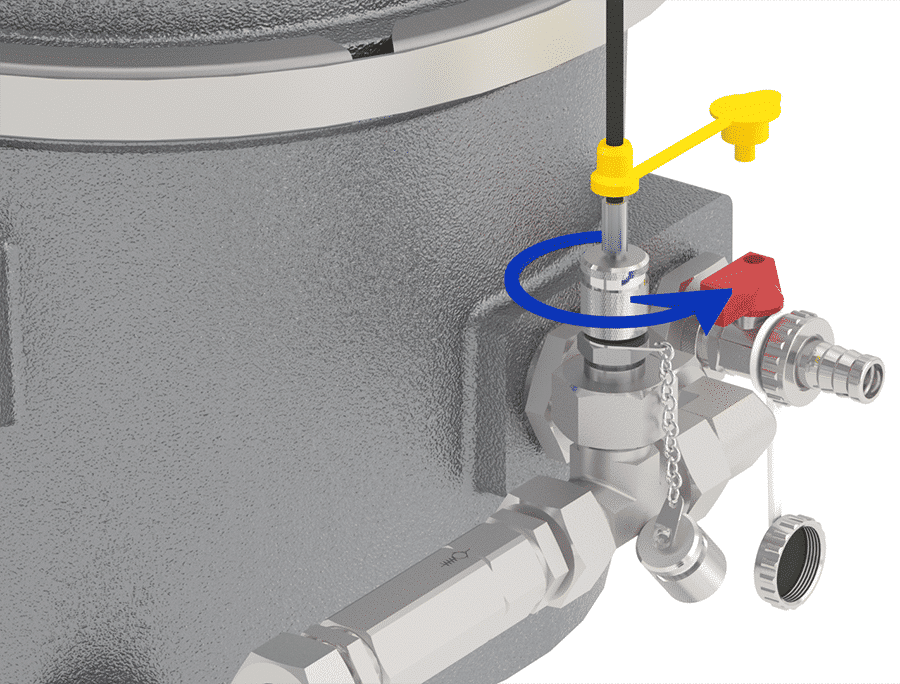
Drain CJC® Oil-Care System.
Close draining valve immediately after draining.
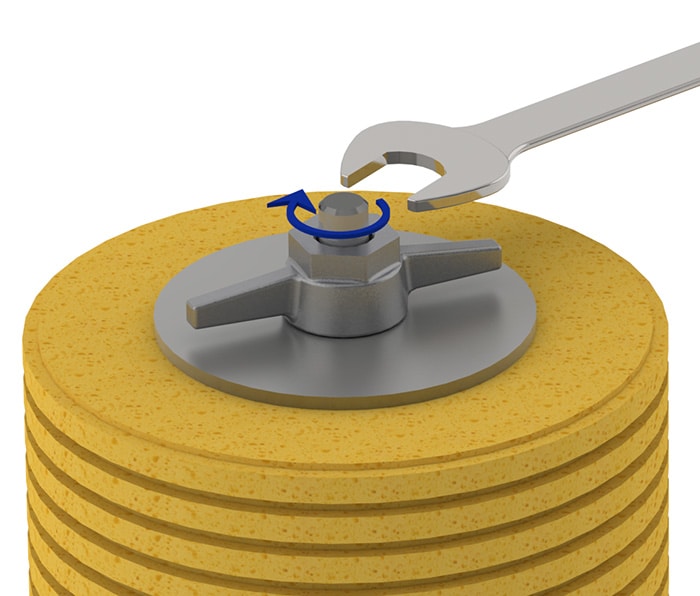
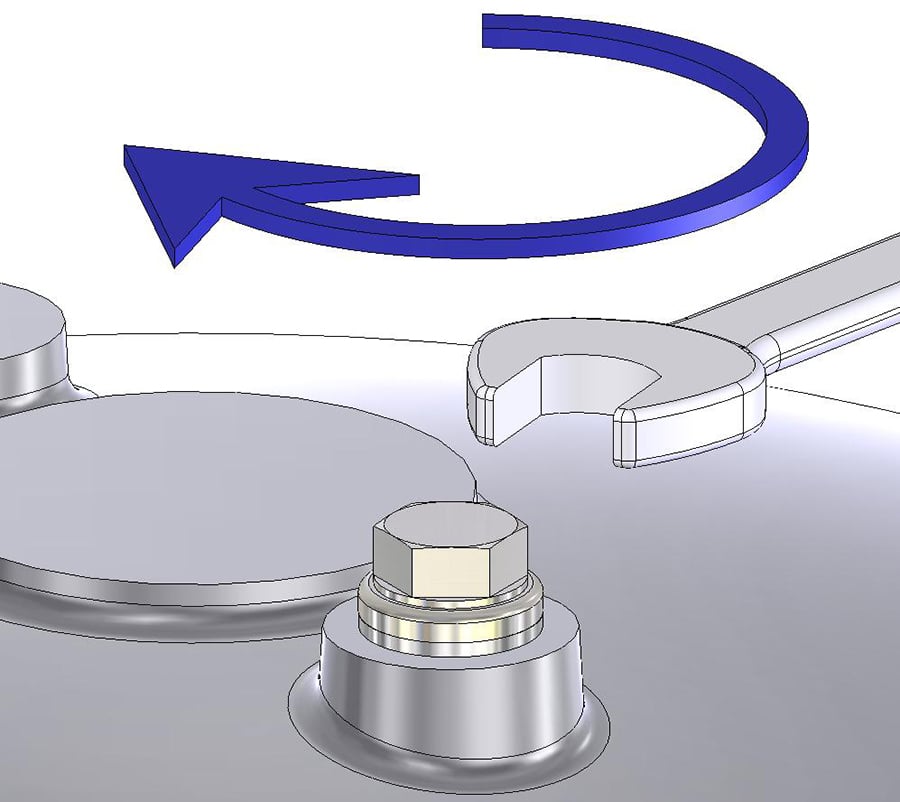
Loosen top nut with torque wrench (SW 41).
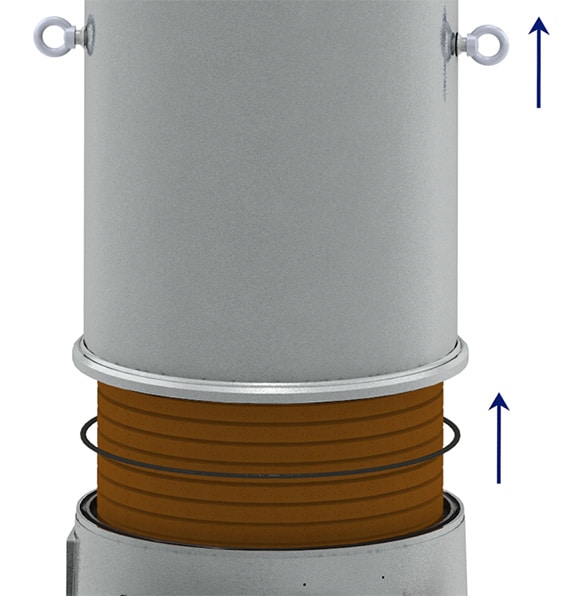
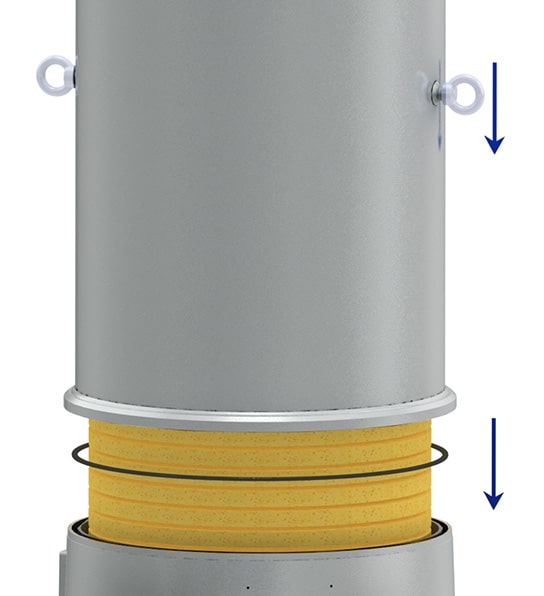
Dismantle filter dome.
Make a visual inspection of the sealing
and if necessary, replace.
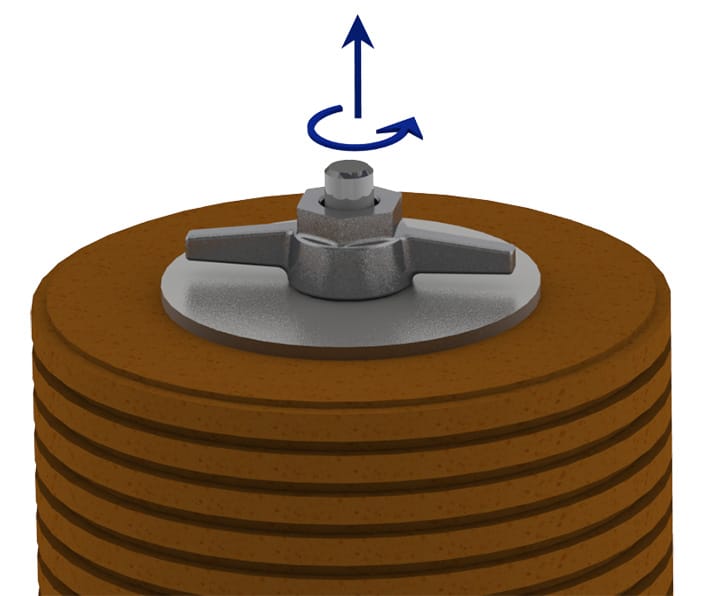
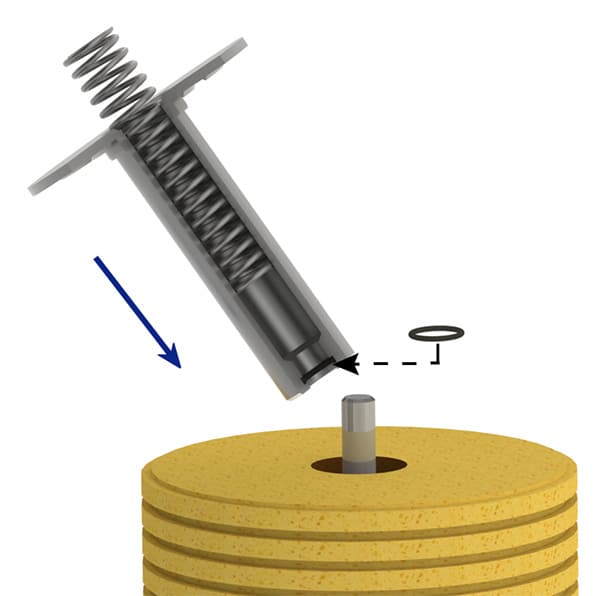
Lossen tightening nut.
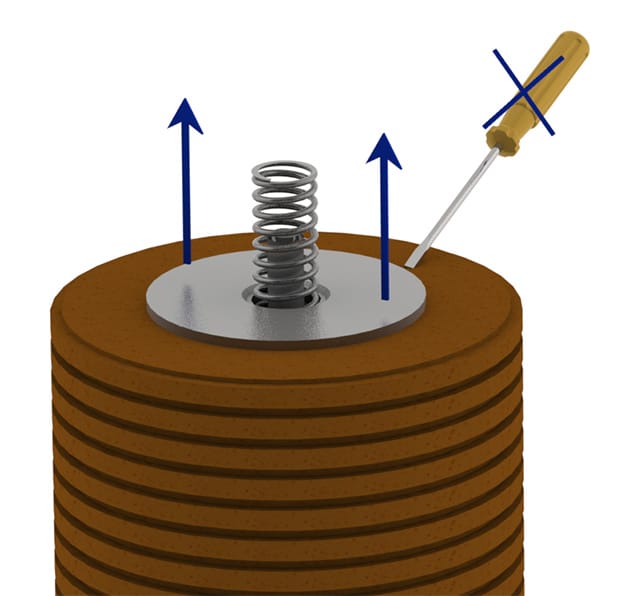
Remove compression spring and spring sleeve.
Do not damage the sealing edge.
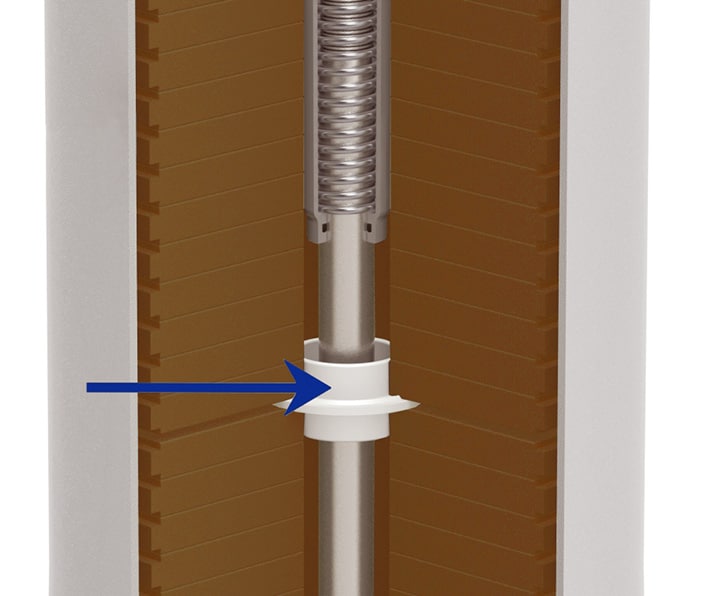
Keep the insert guides for re-use.
Only installed when using particular filter insert types.
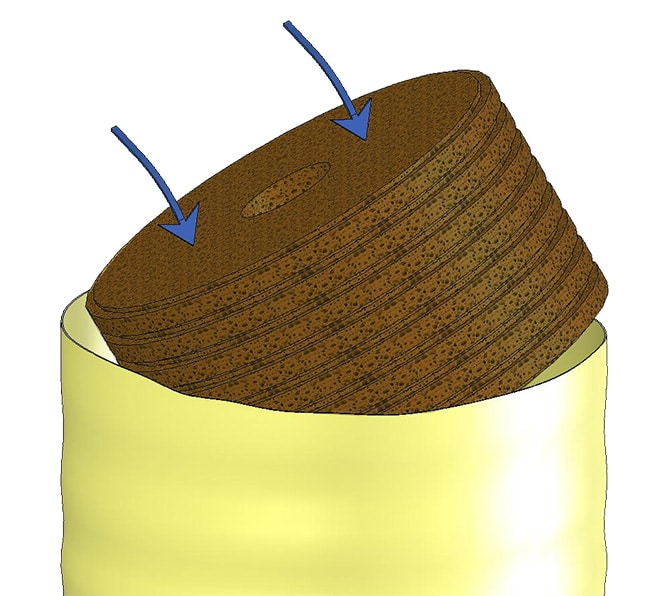
Dispose of contaminated CJC® Fine Filter Insert.
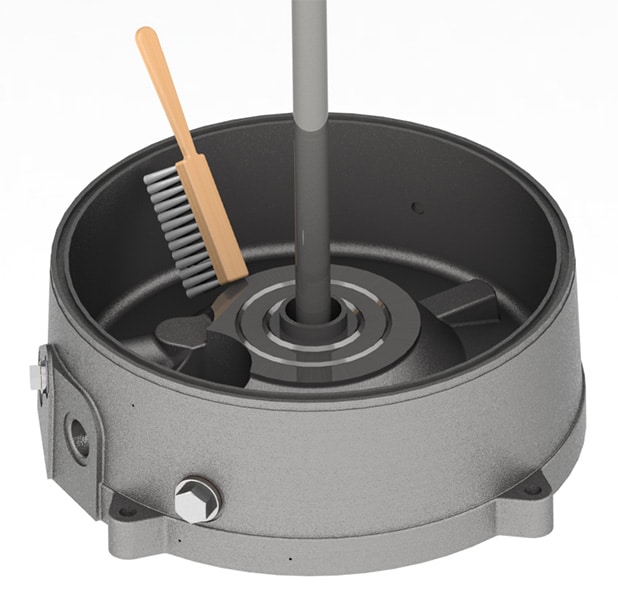
Clean filter bottom.
Without using solvent.

Insert new CJC® Fine Filter Insert
as well as insert guide where appropriate.
Make a visual inspection of the sealing int the spring sleeve
and if necessary, replace.

Assemble spring sleeve, compression spring and tightening nut.
Tighten tightening nut (12 Nm).
Place filter dome.
Tighten top nut with torque wrench (SW 41).

Take CJC® Oil-Care System into operation.
Deaerate filter housing.
Version with automatic bleeding and venting valve:
Leave shut-off valve open or, if necessary close.
Version with venting screw:
Close venting screw.
Version with permanent venting:
Reassemble permanent venting.